Precipitation Calculator Thermal Profile
The Thermal Profile is set up on the Configuration window for a
When connected to an AM Calculator (see Including Probe Data from an AM Calculator) the Isothermal and Non-isothermal options are not visible as it is not relevant to that view.
Isothermal Calculations
Many of the Graphical Mode examples for this Add-on Module are isothermal calculations, e.g. P_02_Precipitation_Fe-C-Cr_Cementite-M7C3-M23C6.
- On the Precipitation Calculator Configuration window, first enter the required Matrix Phase and Precipitate Phase settings.
- Under Calculation Type, click to choose Isothermal to do a simulation at constant temperature.
- Enter a Temperature and choose a unit (Kelvin, Celsius, or Fahrenheit).
- Enter an End time and choose a unit: Seconds, Minutes, Hours, or Days. The Simulation time is displayed as text.
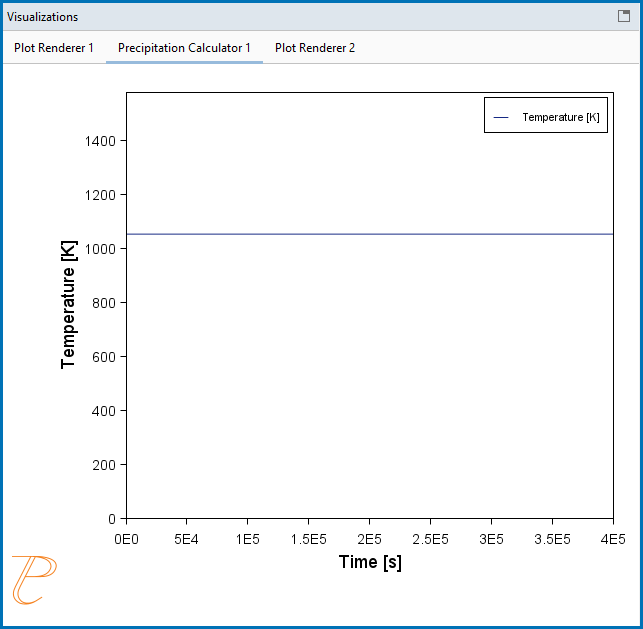
The profile is displayed on the Precipitation Calculator tab in the Visualizations window showing the constant temperature entered.
- For this calculation type this completes the settings you need to enter for the Thermal Profile.
Non-isothermal Calculations
- On the Precipitation Calculator Configuration window, first enter the required Matrix Phase and Precipitate Phase settings.
- Under Calculation Type, click to choose Non-isothermal to enter or import data for a user-defined temperature profile.
- Select a Temperature unit: Kelvin, Celsius, or Fahrenheit.
- Enter an End time and choose a unit: Seconds, Minutes, Hours, or Days. The Simulation time is displayed as text.
You can next either directly enter Time and Temperature coordinates into the table or import the information from a file. A minimum of two points is required.
- To enter directly into the table:
- Click in each cell under the applicable columns, Time and Temperature then directly enter the values in the table.
- Press
<Enter>to add rows and use the scroll bars to navigate the table.
- To import a data file:
- Although it is a simple set of data, prepare the data file as in Guidelines for Importing Data Files to Thermal Profiles.
- When the data file is ready, to the right of the Import from file field, click the file
 button.
 - Navigate to a data file such as an MS Excel spreadsheet (with *.xls or *.xlsx extensions) or a *.csv file. You can also use other programs (e.g. Google Sheets) to enter data and export to a CSV format that can be read by the software. Click Open to import the data to the Configuration window table.
- If there are issues with the above import, experiment with choosing the delimiter type that corresponds to the data in the file: Comma (
,), Colon (:), Equals sign (=), Semicolon (;), or Tab. Click the Reload button . The data is imported to the Configuration window table.
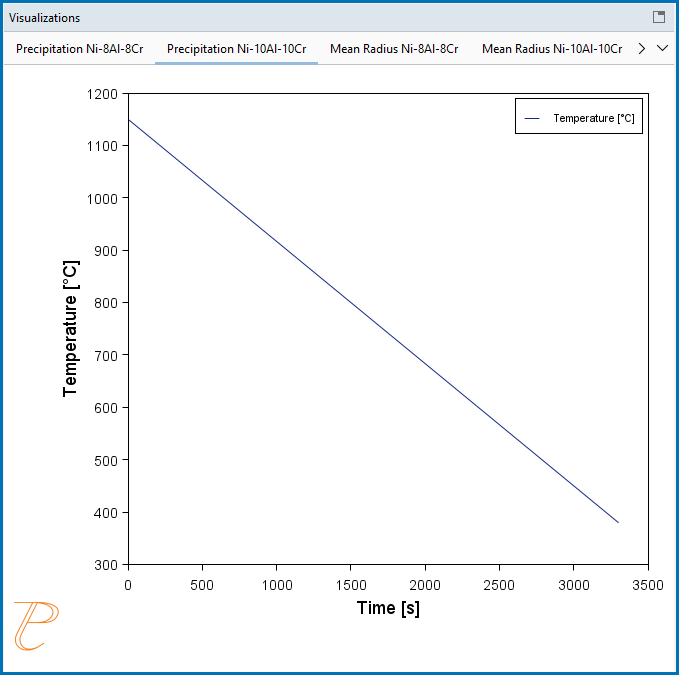
- For this calculation type this completes the settings you need to enter for the profile, which is displayed on the Precipitation Calculator tab in the Visualizations window. Make adjustments to the settings as needed and watch it dynamically change in the window.
This is from the non-isothermal calculation example, P_06_Precipitation_Ni-Al-Cr_Non-isothermal_Gamma-Gamma_prime.
Including Probe Data from an AM Calculator
When you also have a license for the Additive Manufacturing (AM) Module you can include probe data from the AM Calculator in the set up of the thermal profile.
There is connectivity between the Diffusion Module (DICTRA) or the Precipitation Module (TC-PRISMA) and the Additive Manufacturing (AM) Module when you have full licenses available for all relevant Add-on Modules and databases.
You can add a Diffusion Calculator or Precipitation Calculator as a successor to the AM Calculator and then when probes are included with the AM Calculator this data can be further used with the thermal profile.
Details are in the AM Module documentation. See AM Calculator: Working with Probe Data.

